Happy Halloween!

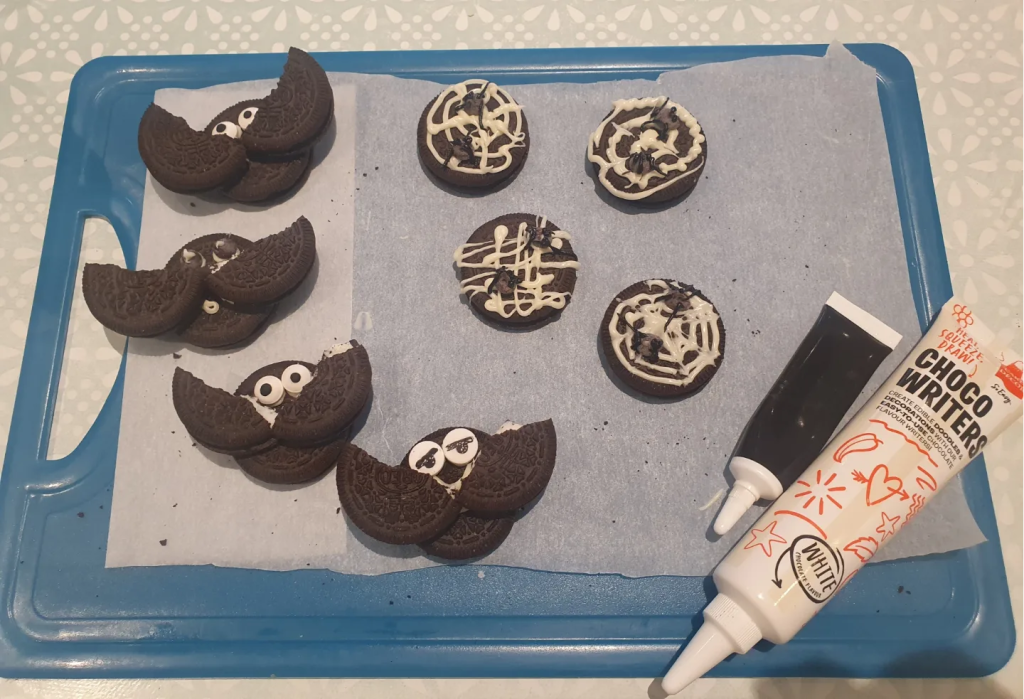
On insta, I have seen so many creative recipes for Halloween! So, today as I had to work and will be late coming home! I thought I would make a nice suprise sweet treat for my boys when they come back from school! I needed something super quick and the boys love oreos so I made some bats with them and spider designs!

All you need is 2 oreos per bat, break one in half and stick them down with white chocolate or icing as the wings, add some candy eyes. For the spider web, I drizzled the white chocolate and added a chocolate chip for the spider body and black icing for the legs!!

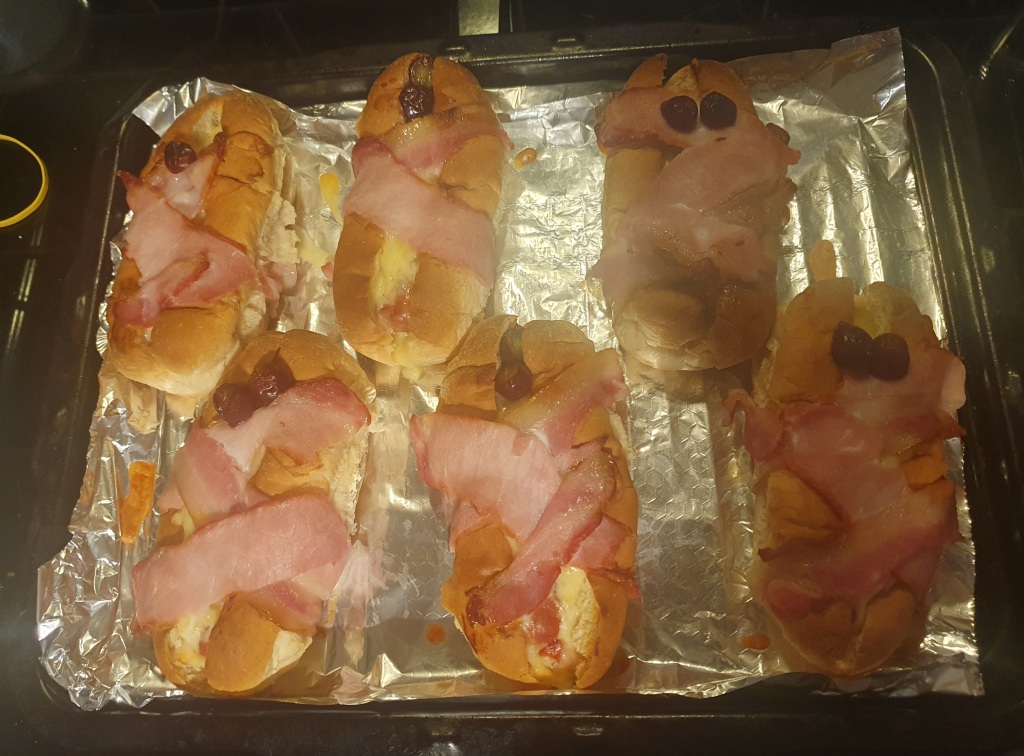
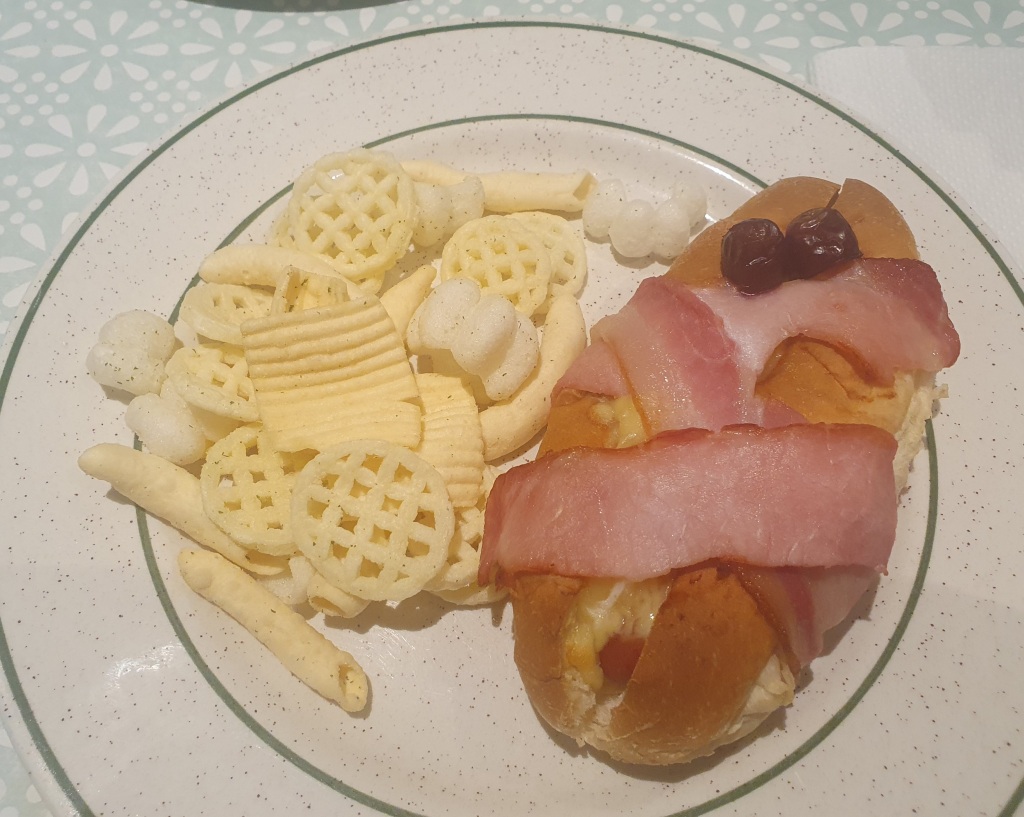
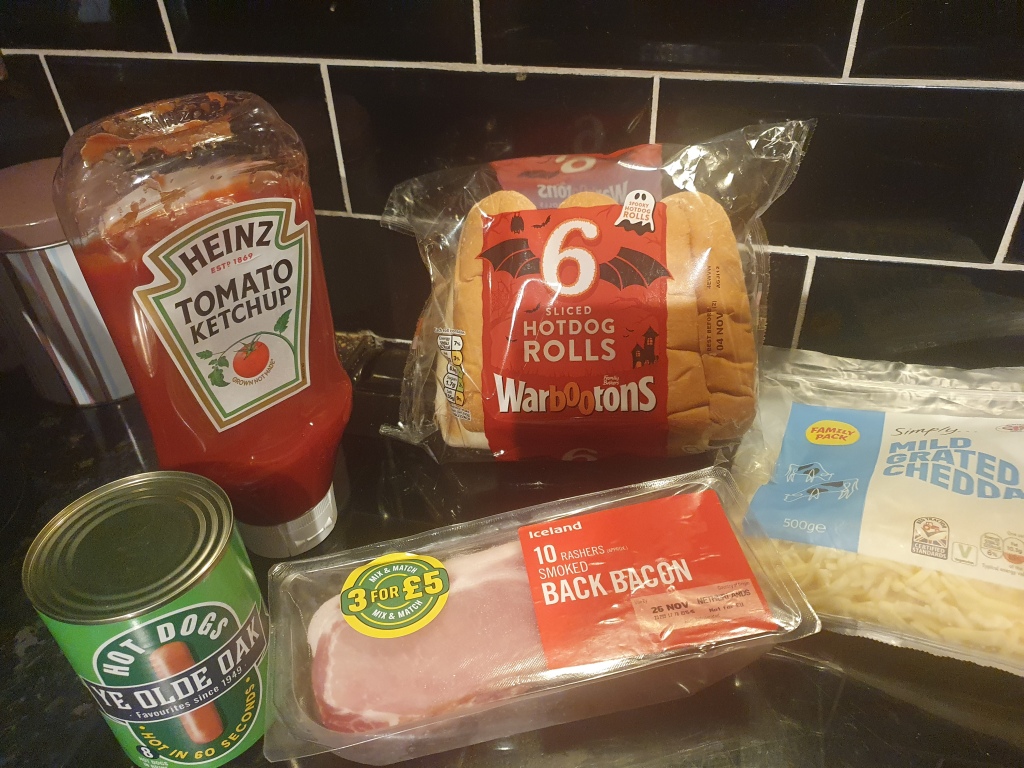
For our dinner, I made hot dog mummies as I saw this recipe post from Warburton. So simple to make and delicious! I will be making this again! In the hot dog bun, add some ketchup, grated cheese, hot dog from the tinned/jar, add more cheese and wrap it around with the bacon to make it look like a mummy. You can use olives for the eyes, I didn’t have any at home so I used some grapes! Put them in the oven for 20 – 25 minutes GM6 and enjoy!
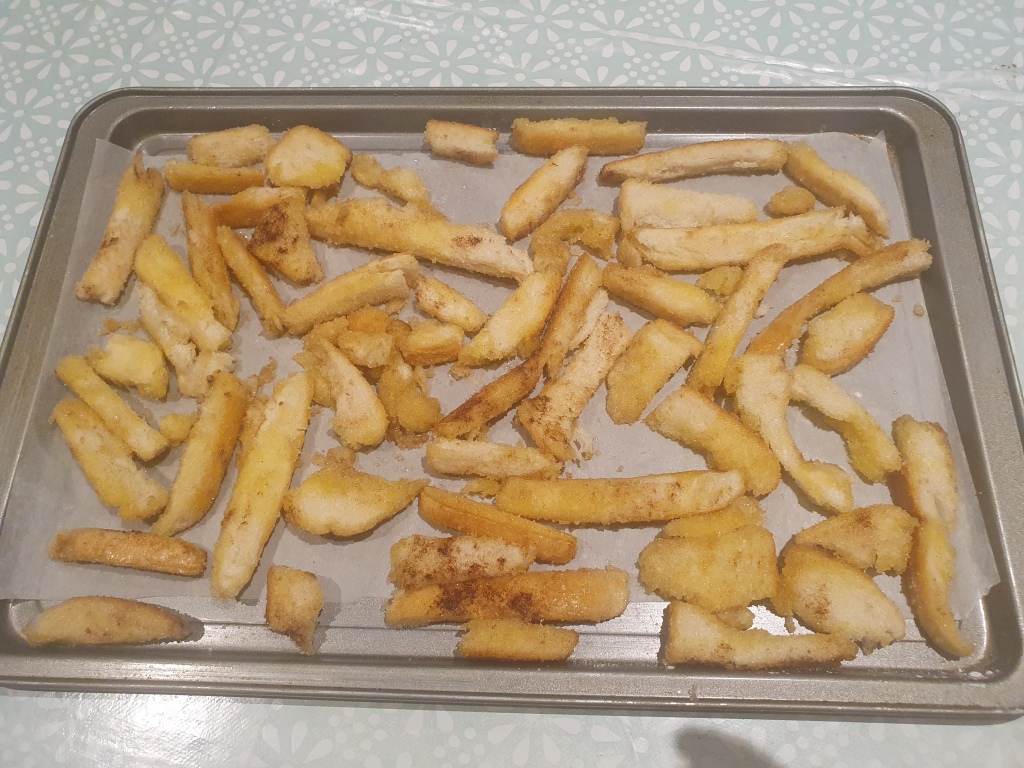
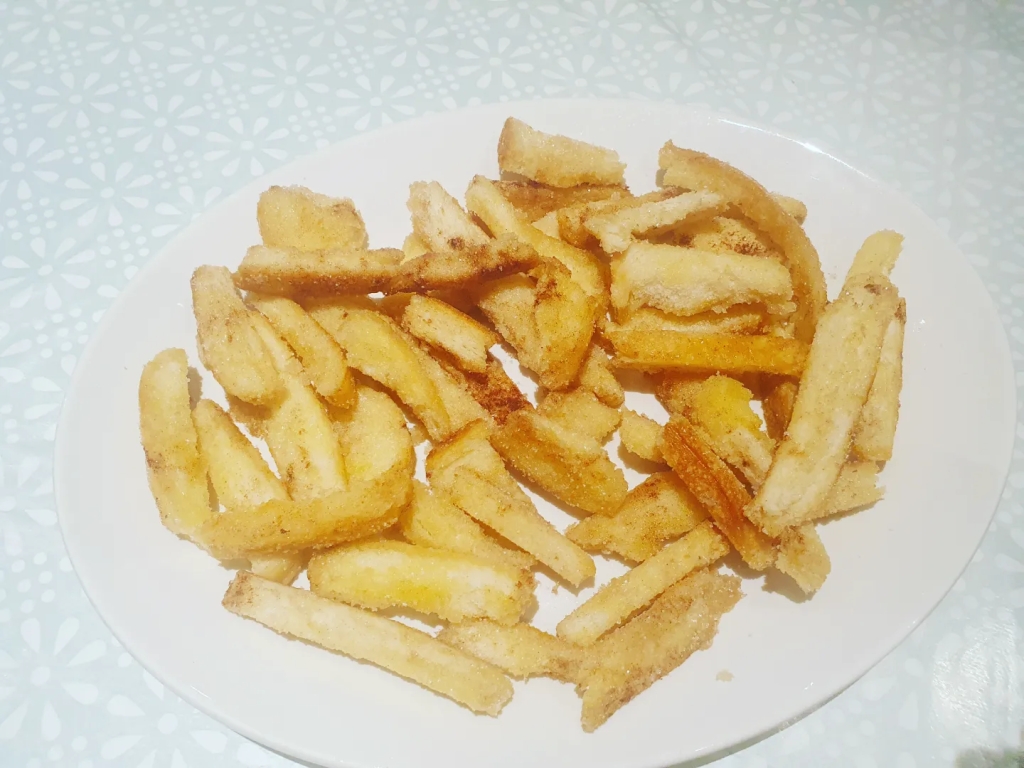
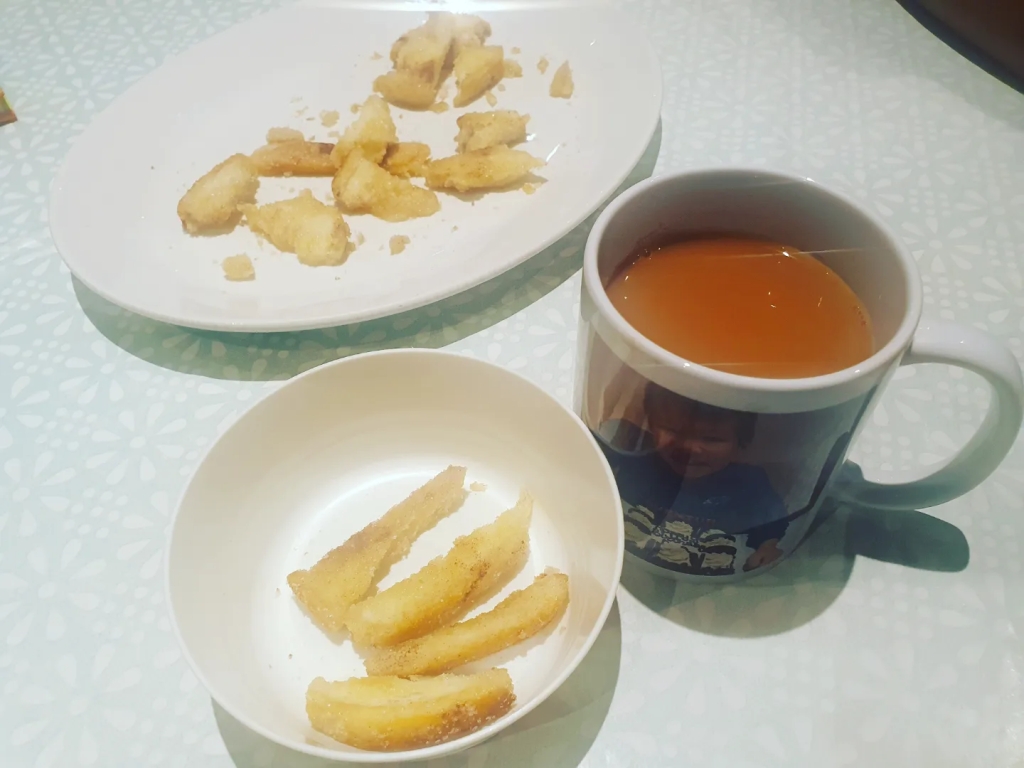
Cinnamon Sugar Bread Crust Treats

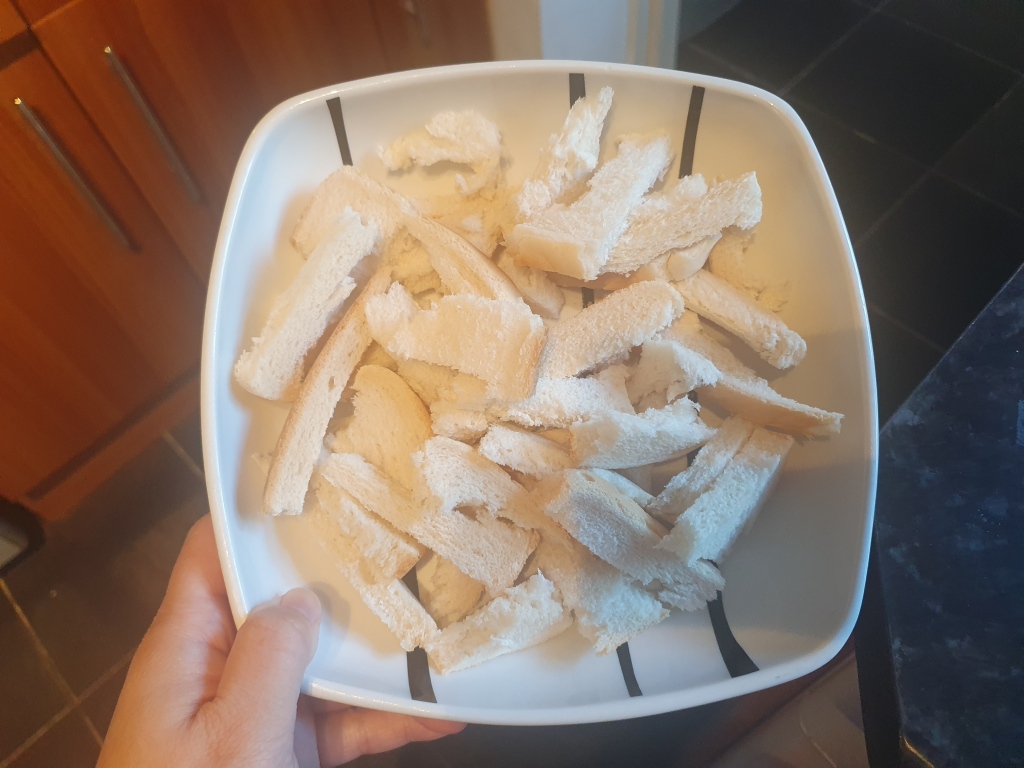
When we made the TikTok toasted chocolate pancakes, I found that there was a lot of wastage of bread and I was really reluctant to throw it away. So, I did some research and came across recipetineats.com ‘s blog and saw her ‘Cinnamon Sugar Bread Crust Treats’ recipe. Such a great idea as it only takes 10 minutes to prepare and the outcome is super addictive to eat!

Now, I am just saving all my hard bread in the freezer so that I can use it to make this treat again. It is definitely a favorite recipe in our household! If you don’t have enough crusts, you can use leftover bread and cut it into stick pieces.

Ingredients: 6 cups of stale bread crusts or enough for 1 – 2 trays, 60g of melted butter, 3 x tbsp sugar, extra sugar to sprinkle on top once baked, and 1 tsp of cinnamon.

Method:

  1. Preheat oven to GM4 and line your trays. Cut the bread/crusts into 3cm pieces.
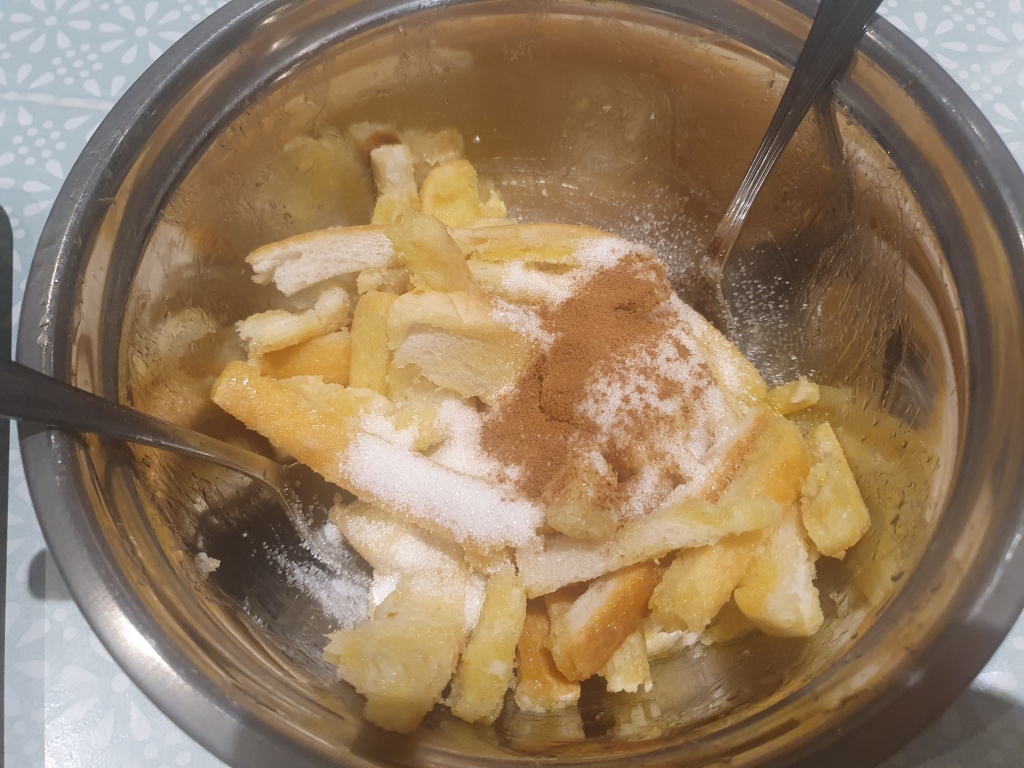
  2. Place them in a large bowl and drizzle in the butter and coat it evenly.
  3. Sprinkle the sugar and cinnamon and toss through. Spread them onto the baking trays.
  4. Bake for 5 – 8 minutes until golden brown and crunchy.
  5. Whilst still hot, sprinkle over the remaining sugar and enjoy!

Valentine Chocolate Bliss Balls

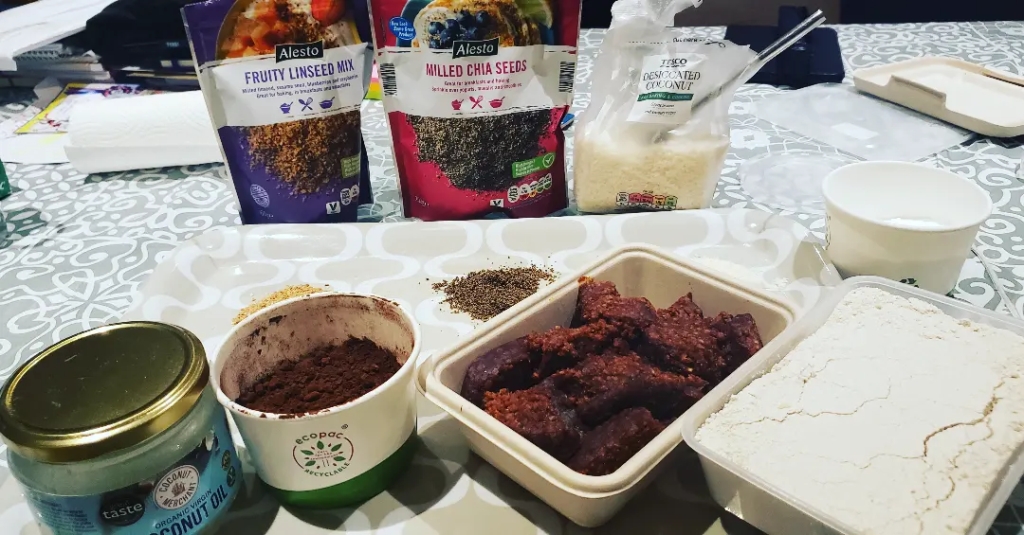
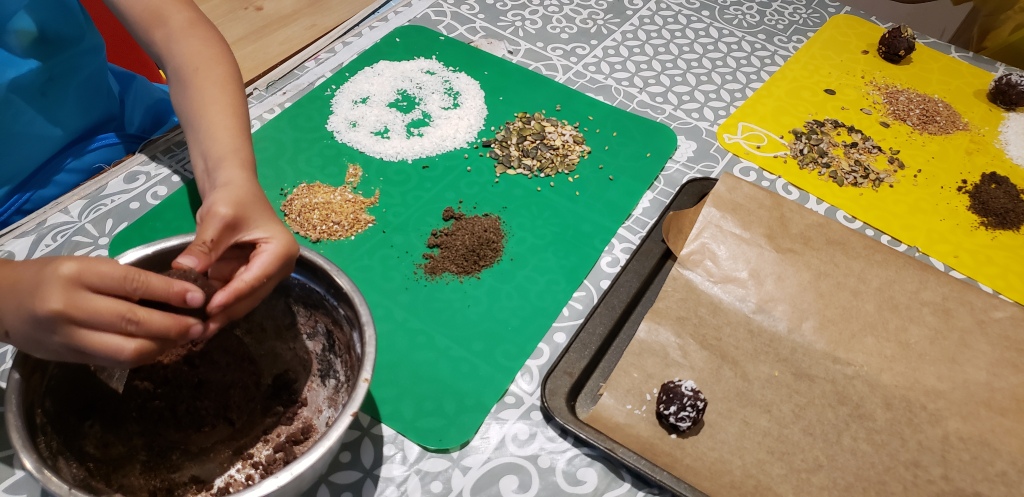
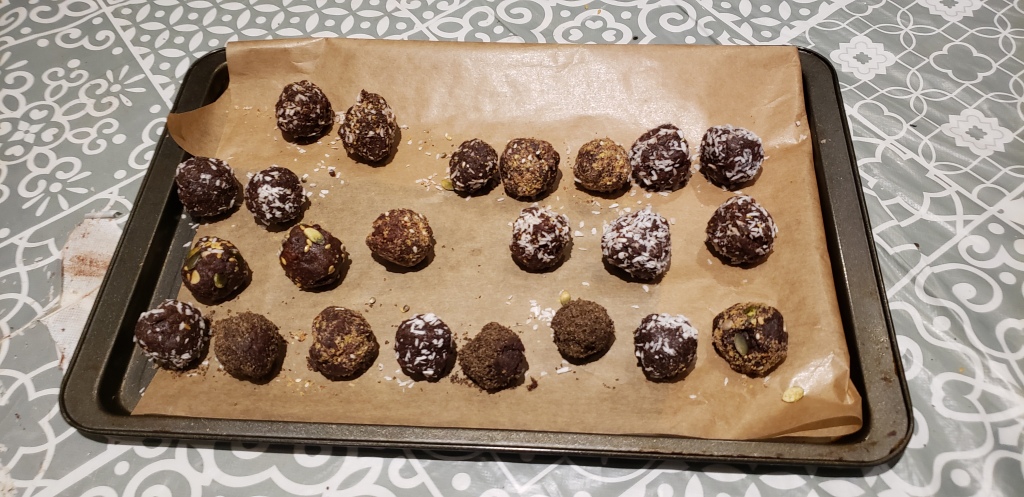
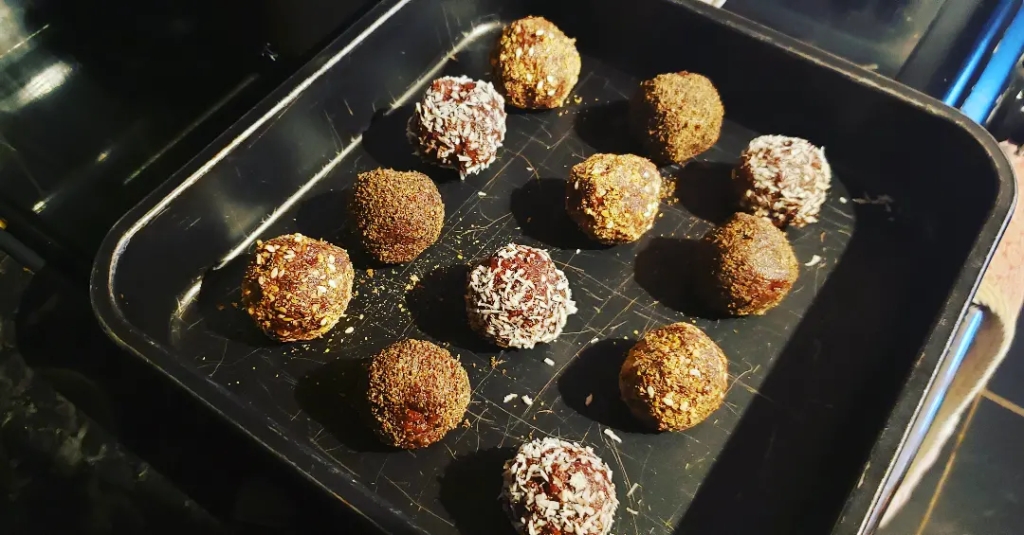
It’s Valentine’s Day next Tuesday so you can make a batch of chocolate bliss balls! So simple to make and you can always coat them in chocolate once you have made the balls and put them in the fridge to set and then add your sprinkles to them. My boys loves this recipe with desiccated coconut as their favourite topping!

Ingredients: This mixture makes approx 28 balls.

  • 6 x Tbsp Date Paste
  • 1 – 2 x Tbsp coconut butter
  • 5 – 6 x Tbsp oat flour
  • 2 x Tbsp Cocoa
  • 2 x Tbsp icing sugar

Different Toppings Suggestions: Desiccated coconut, drinking chocolate powder, freeze-dried blueberry/strawberry powder, mixed seeds, chia seeds, the list is endless!

Method – Mix the dates paste with the coconut butter so that it is abit softer, then add the oat flour, icing sugar, and lastly the cocoa butter. You will need to use your hands to make the truffle mix and split it into small balls. If the mixture is too dry, add more coconut butter, if it is too wet, add more oat flour. The texture should be semi-firm but still soft enough to stick the toppings on. With your small balls, roll them into the toppings of your choice and then place them in your fridge to set (1 – 2 hours) and then enjoy!

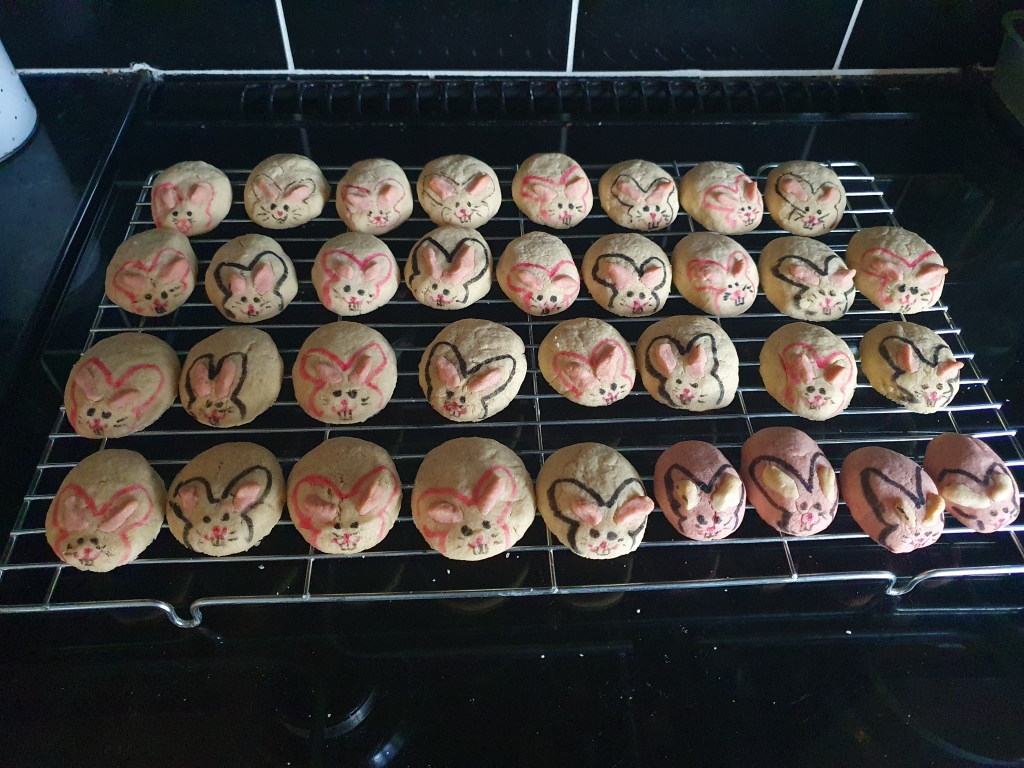
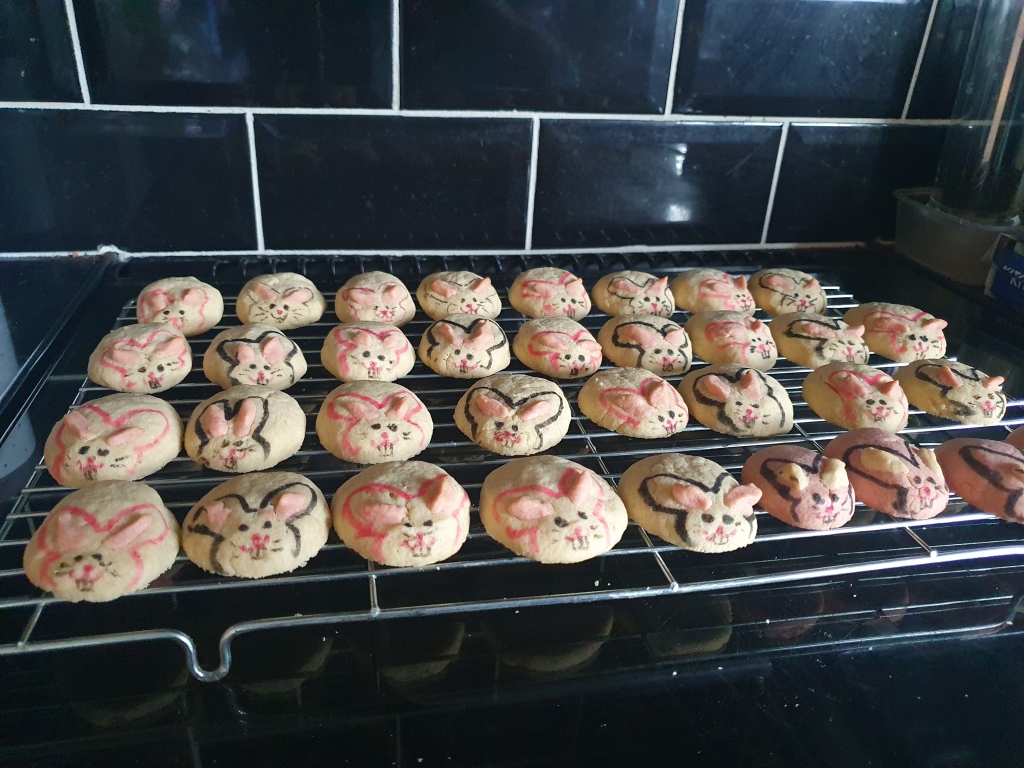
Happy Chinese New Year – RABBIT 2023

Chinese New Year has come extremely early this year as it is on Sunday 22nd January, normally, it is around February time. So, it is the year of the Rabbit and I was looking for some bakes with a rabbit theme. I came across this blog and thought it was an easy recipe to follow.

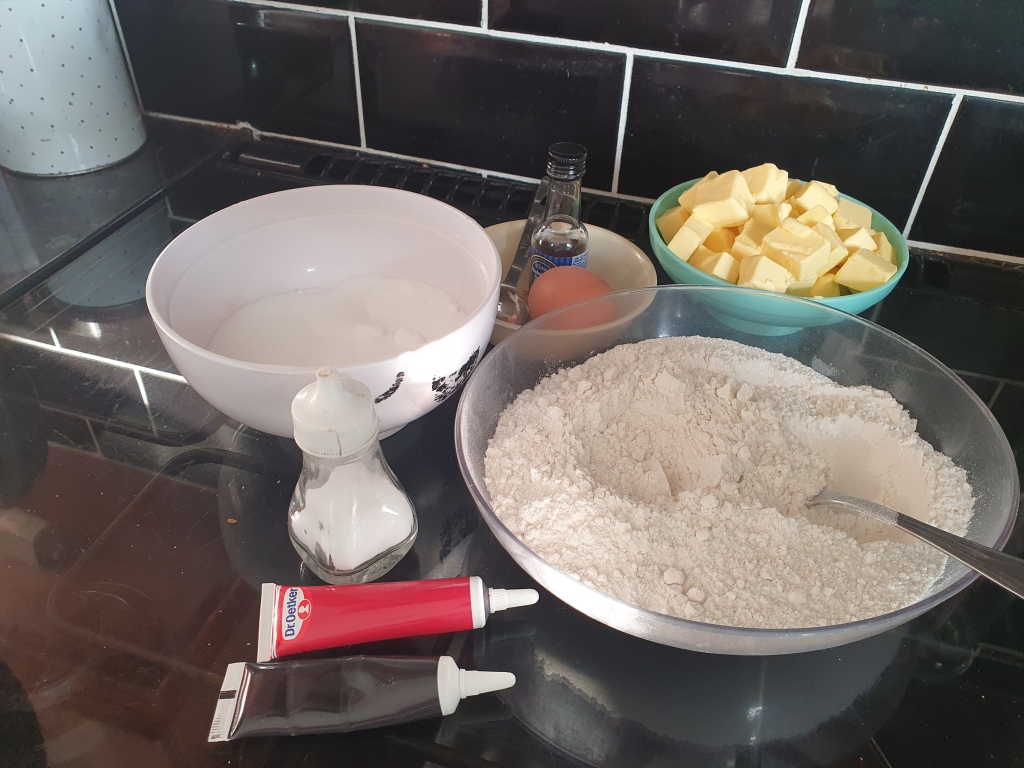
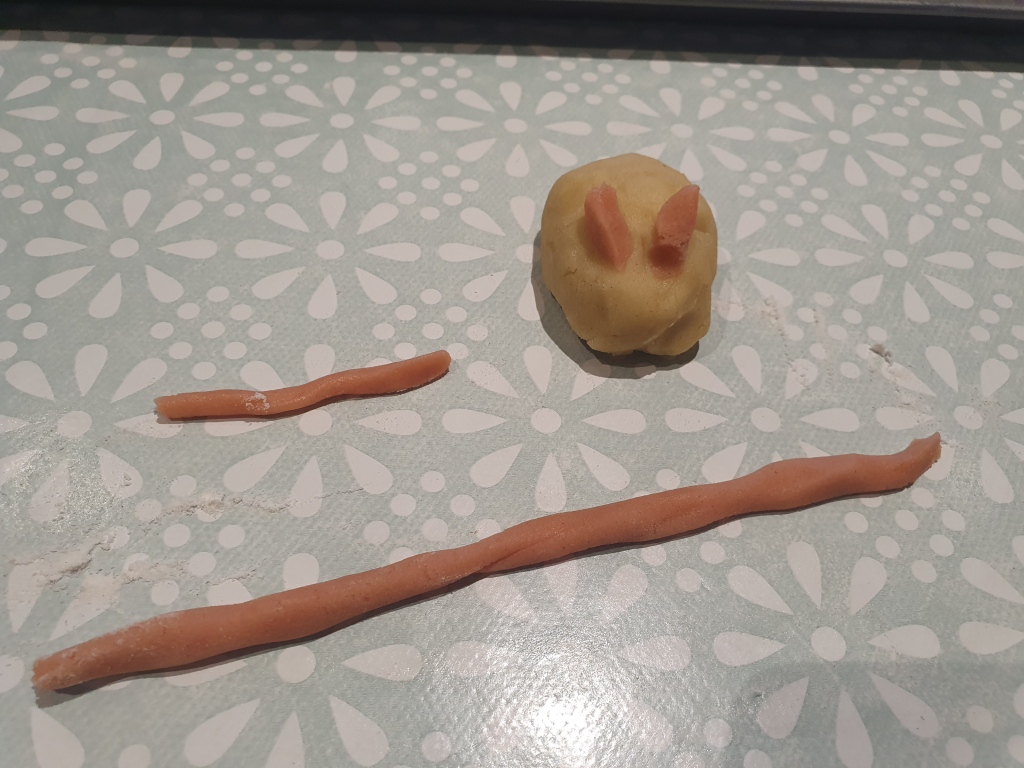
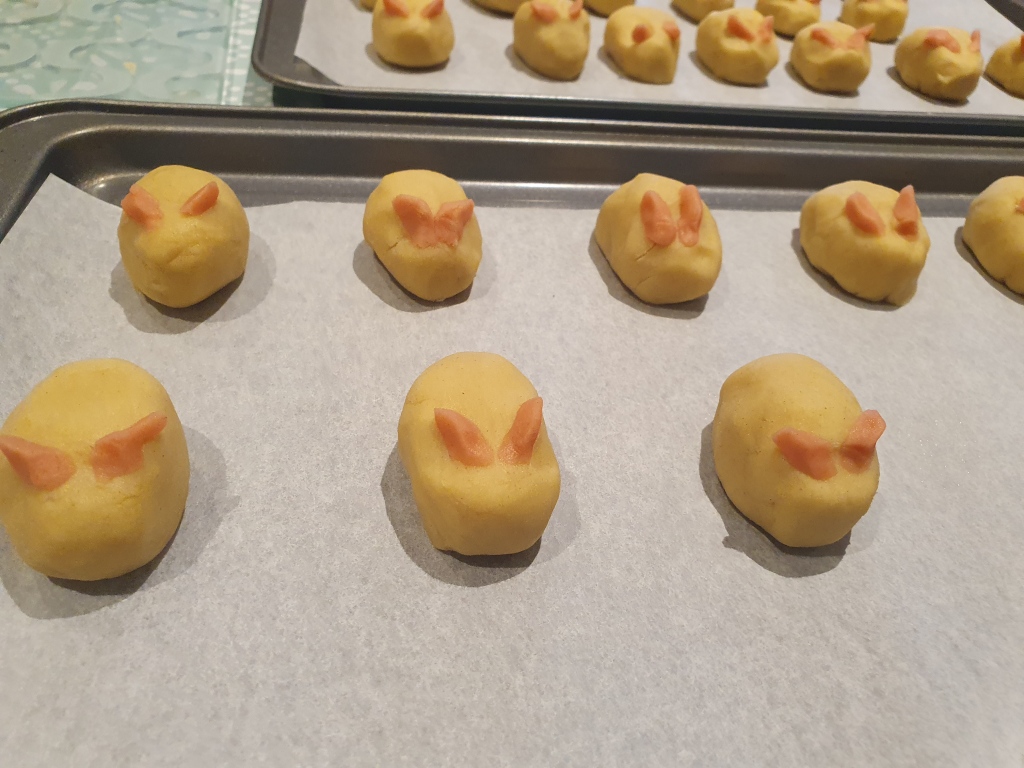
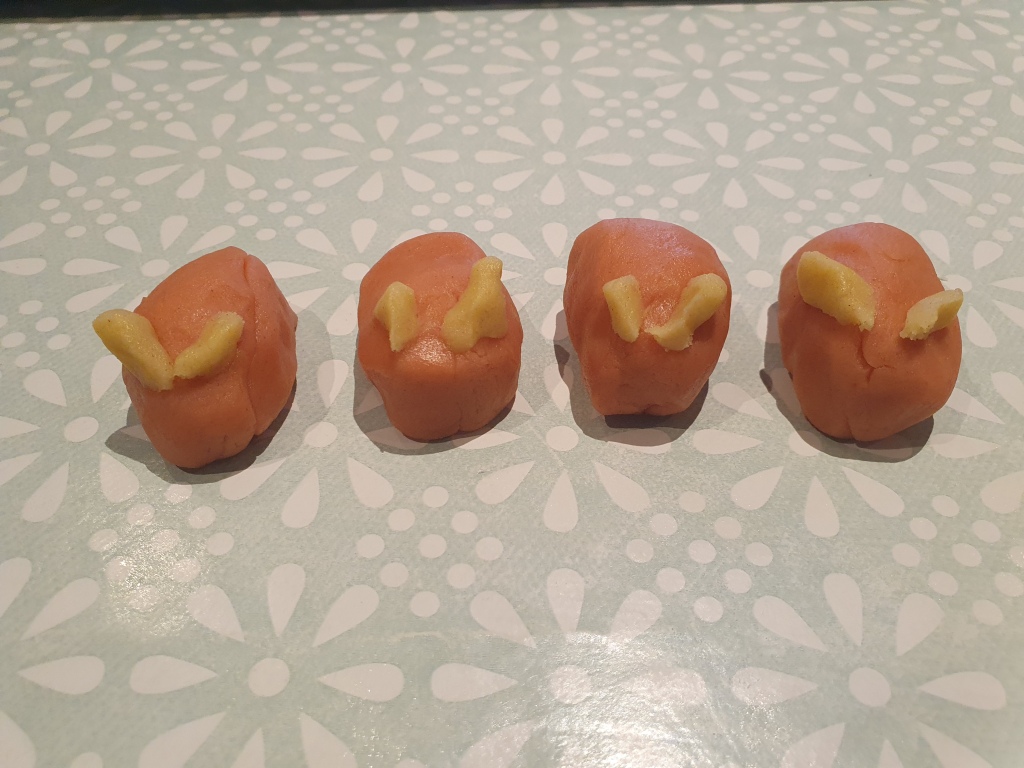
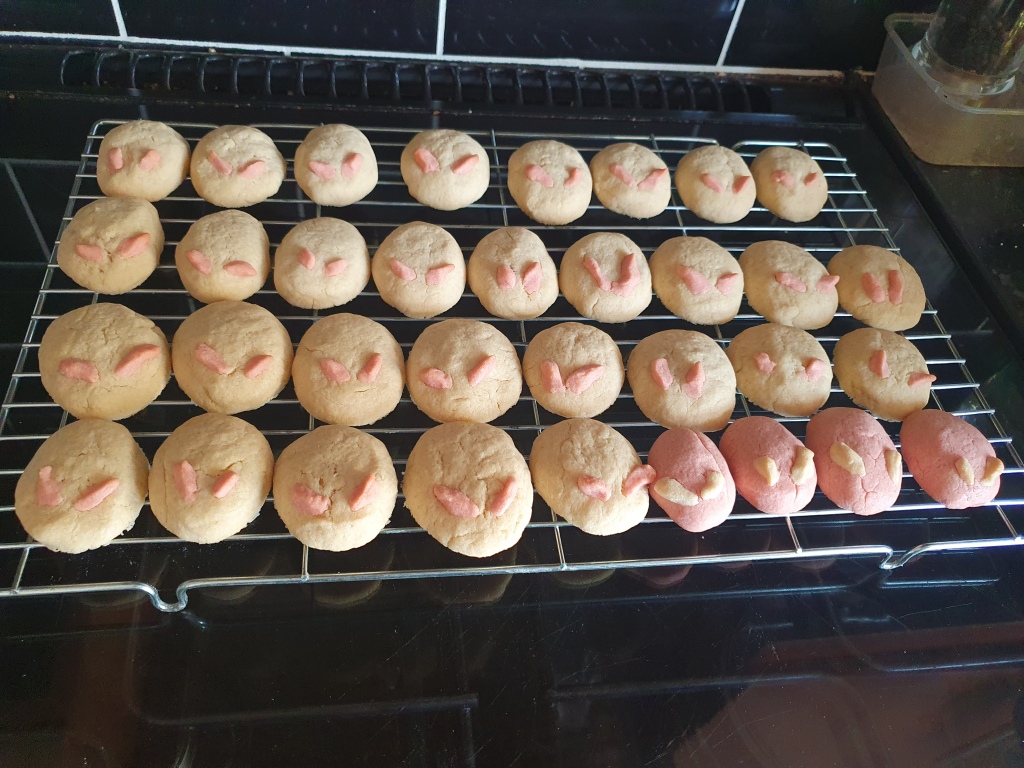
My rabbits look like little mice as they didn’t look as plumped, still cute though! It took more time to shape the bunnies and ears and decorating than to make the actual mixture itself! All the ingredients can be found at home in your store cupboard so the only thing you might need to buy is some red food coloring gel to make the pink dough. Also, I didn’t use chocolate for the eyes as I have got some edible ink pens to draw the faces.

Ingredients – 360g Plain Flour, 150g Caster Sugar, 227g soft butter, 1 egg, 1 tsp vanilla extract, 1/4 tsp of salt, and red/pink food coloring gel. Edible ink pens or writing icing pens.

Method: Cream the butter and sugar until soft and fluffy. Add the egg and vanilla extract to make the mixture smooth in your mixer. Add the salt to the plain flour and then add this to your mixture. Turn the dough out and knead gently until it is smooth. If the dough is too sticky or soft, put it in the fridge for 15 minutes so that it is easier to handle. Take 1 tablespoon of the dough and add a few drops of the red gel to make the mixture pink. These are for the ears.

I used a tablespoon of the dough per rabbit and shaped it like a pear and then with the pink dough, I rolled it into a string to make the tiny ears. It is quite fiddly trying to stick the ears on the rabbit. When you have made the rabbits, put them in your fridge for about 15 minutes and preheat the oven to Gas Mark 4 – 180c, and bake for 15 minutes. Let it cool and then afterward you can decorate the face with edible pens/icing pens and enjoy! 🙂

Happy Chinese New Year to all my family and friends!! Wishing you all good health and happiness for 2023!!!

Coconut Oil Chocolate Chip Cookies

I had a jar of coconut oil that I needed to use before it goes out of date so I was looking up recipes online and found one from Chef Savvy’s blog. This recipe was really easy to follow and most of the basic ingredients you would have in your store cupboards! With her recipe, I would probably reduce the sugar as it was quite sweet already with the chocolate chips. I chilled my dough in the fridge for an hour as we didn’t want a thin biscuit.

In the end, we managed to make 21 cookies, rather than only making 12 cookies! There was only a slight hint of coconut that you can taste but it is more dominated by the chocolate so you can’t really detect it! Very delicious! 🙂

Ingredients:

  • Half cup of coconut oil (not melted)
  • Half a cup of light brown sugar ( I would use a quarter cup)
  • A quarter cup of granulated sugar
  • 1 large egg
  • 2 x tsp vanilla extract
  • 1 x tsp baking soda
  • 1 and a half cup of plain flour
  • 1/4 tsp salt
  • Half cup of chocolate chips (1 packet – 100g)

Method:

  1. Preheat the oven to GM4. Add the coconut oil and both the sugars into your mixer and mix for 1 – 2 minutes.
  2. Add the vanilla and egg. In another bowl, add flour, baking soda and salt and mix it to combine.
  3. Slowly add the dry ingredients to the wet mixture in 2 parts. Fold in the chocolate chips.
  4. Portion your cookies, I just used a small ice cream scoop so they are all in the same size.
  5. For thicker cookies, chill them in the fridge for 1-2 hours or you can bake them straight away.
  6. Bake for 12 – 15 minutes, allow them to cool for a couple of minutes and transfer them over to the wire rack to cool completely. You can store them in an airtight container for 3-5 days or freeze for up to 3-4 months. You can store them raw as well from step 4 and let them come to room temperature before baking them. Enjoy!

Valentine’s biscuits!

Slightly late writing this post as Valentine’s Day was on Monday! But with this recipe, you can make it on any occasion and with any biscuit cutter shape. I wanted to make something with the boy as it’s half term this week and they love homemade biscuits! Gingerbread man is their favourite, I swear they can eat a whole batch of it in one go!!

This is really quick to make, especially when you are doing this last minute as most of the ingredients you should have in your cupboards already. The boys had fun rolling out their hearts and enjoy putting alot of sprinkles! Let’s just say, the biscuits were very very sweet!! 🙂

Ingredients: 175g soft butter, 100g caster sugar, 1 egg beaten, pinch of salt, 1 x tsp vanilla extract and 300g plain flour, plus extra for rolling out.

For decorating, you can use 150g icing sugar and mix with 1-2 x Tbsp of water and any sprinkles.

Method:

  1. Place the butter and sugar in a large bowl and beat together until ilight and fluffy. Whisk the egg and vanilla in a separate bowl and mix it with the butter and sugar mixture. Sift in the flour and salt to forma dough. Wrap in clingfilm and chill for 30 minutes.
  2. Preheat the over to GM4, line your tins. Roll the dough out on a floured surface and cut out your shapes. Bake for 15 – 20 minutues or until they are golden brown. Leave to cool in wire racks.
  3. Sif the icing sugar into a bowl and add some water and mix until smooth. You can also add 1 x tsp of vanilla extract into your icing. You can then use different food colourings to make your biscuits really colourful or you can just add the different sprinkles. The biscuits are quite sturdy to hold so you can even dip them in melted chocolate if you want to be really indulgent! Leave to dry and then enjoy! 🙂

Homemade Vanilla Extract

I always use Vanilla Extract in my bakes and sometimes even when the recipe doesn’t list it, I would still add 1 teaspoon. In my cupboards, I tend to have several bottles of vanilla extract, I never understand why they don’t sell it in a big bottle!

Last August, I saw on Gemma’s blog that you can make homemade vanilla extract with just 2 ingredients! I thought it was a complicated process but when I read her blog post, it couldn’t be simpler! I was amazed how easy this was to make, it is just a matter of really waiting for the vanilla pods to be absorbed. You can visit her blog as she gives you methods of how you make other flavoured extracts.

All you need to buy is a probably 5- 6 vanilla pods, split them in the middle to open up the seeds and then get a bottle with a tight cap/lid and pour the vodka in! It will be a clear mixture but as the weeks goes by, you will see the colour change and it will be a nice brown colour! Shake the bottle a few times during the week to mix it and the vanilla extract will be ready to used to in about 6 week’s time! I was really surprised that it was made of vodka!! My vanilla extract is now ready to use so I can’t wait to try the flavour!

After 8 weeks, I tried it and you can definitely still taste the vodka which was pretty strong! I thought how can this be used to bake but found online that the alcohol would just burn off when the mixture is being baked. So, I tried this with my favorite banana cake recipe and it’s true, you can’t taste the vodka!! The cake was delicious! Can’t believe I made my own vanilla extract with vodka!!

4 Ingredients – Cheesy Biscuits

We always make sweet biscuits at home, normally ones with chocolate! I saw a post from Gemma’s blog and she made cheese biscuits with her son so I thought we can try out her recipe as I have got all the ingredients at home! Something to make on a rainy day! 🙂

You only need 4 ingredients which are cold butter (115g), grated cheese (225g), plain flour (282g) and water (3-4tbsp). You put all the dry ingredients first in the food processor and add enough water until it turns into a dough. Then, wrap it with clingfilm put it in the fridge to chill for 20 minutes or so. We didn’t have the gold fish cutter so we used cutters that we had at home! Roll the dough as thinly as possible on a floured surface, ours was a bit thick! Cut them out and bake in the oven for 20 minutes until it is golden and crisp at GM4.

What was the outcome? They didn’t like it!!! Typical, they love to eat cheese in their food but not in a biscuit, their response was ‘it’s too cheesy!!’. I must admit, I am not a big fan of savory biscuits but they tasted really light and fluffy. Not sure if they were meant to be crunchy as my batch was quite soft, I think our dough was quite thick! We probably made around 25 biscuits or so which was alot to eat between me and my husband and i did not fancy having it the whole week! Luckily, I was able to give some of the cheese biscuits to my friends as their kids liked it! At least i tried so sweet biscuits next time! 🙂

Egg Yolk Cookies

Restrictions are finally over for us in the UK, it ended on the 19th July. Yeah!! 🙂 So, on the 24th July, we had our 1st family gathering, a nice BBQ! And, luckily the weather remained dry for us, it was forecasted to be thunder and heavy rain so we were all expecting to be cooped up inside the house rather than staying outside in the garden! My brother/sis in law have a nice patio with a spacious seating area in their garden. My sis in law just asked us to bring a dessert as she would be too busy cooking all the main dishes! It was really lovely meeting up with all of our family members and eating together, I really missed those occasions so hopefully, we can have some more family gatherings! 🙂

I decided to make the pavlova (click on the link for the recipe as I have blogged about it previously). I included a pic of it below so you can see it aswell! Gosh, I hate separating the egg whites and the yolks, I always make a huge mess or it splits and then I have to start again! You only need 4 x egg whites and I probably used up 7 eggs! I find this process the hardest rather than actually making the pavlova!!

I didn’t want to waste all the egg yolks, at first, I was going to use them to make Portuguese custard tarts but found that I had more egg yolks than I anticipated! I looked up online to see what I can do with 6 egg yolks and found this blog and she shared her Egg Yolk Cookies recipe. Looks simple to make and I actually made the cookies with the boys! 🙂

I really liked her Sweet & Savory blog because in her ingredients list – she also had the ‘grams’ next to the cup measurements so you didn’t need to covert them. I always find it troublesome when you are doing the conversions because it differs as to what the ingredients is ie wet or dry! Her instructions were simple to follow so I will definitely be making some recipes from her blog!

The cookies turned out to be a biscuit/cake texture, really yummy! I didn’t include nuts in this bake as the boys just wanted the chocolate chips! 🙂 . One batch of this mixture made about 25 cookies and I also baked mine for longer around 20 minutes! Enjoy!

Nutella Biscuits

For my February’s half term bake with the kids, we decided to make some Nutella biscuits as you only need a few ingredients. I saw this recipe from the Bigger Bolder Baking blog which seemed easy to follow and you only need 3 ingredients! My older son, Dee loves Nutella so he was super excited to make this but Gray didn’t want to touch it! He doesn’t like to get his hands messy especially when it’s chocolatey! I only let Dee have Nutella toast 3 x times a week or otherwise he would have it everyday for brekkie! 🙂

Pre heat the over to GM4. You will need a cup of Plain Flour (150g), a cup of Nutella (240g) and 1 egg. Mix it altogether, if it is too dry, you can add some more Nutella to the mixture. Roll them into small balls and put them on the baking tray and flatten them slightly at the top. Bake them for 8 – 10 minutes and let it cool for 5 minutes and then transfer them to a baking rack. I over baked our cookies as they turned out quite crunchy so next time, I won’t leave it so long in the oven as it still looked abit raw after 10 minutes but maybe when it cools down, they will harden. I think from this batch, we made about 20 cookies! Enjoy as we all did! 🙂