Celebration Coronation Fudge

It’s the Coronation of King Charles III this weekend and I made some Coronation Celebration Fudge for my afterschool clubs kids for their treat! It was my 1st time making fudge and I was really surprised how simple it was to make with only a few ingredients!

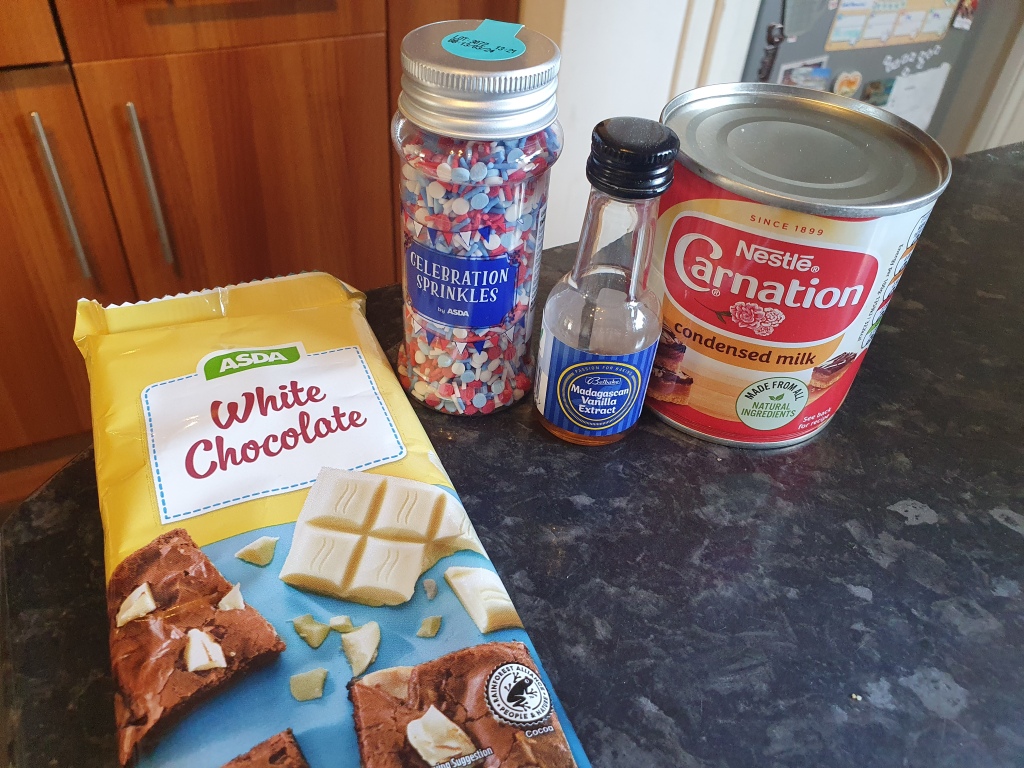
All you need is 4 ingredients – White Chocolate – 400g, Condensed Milk tin – 397g, Vanilla Extract – 1 x tsp, and Sprinkles! I spotted this recipe from Eats Amazing blog and I have adjusted her recipe slightly as I didn’t have enough white chocolate at home and it still worked! It is a really quick treat to make of you want to take it to parties or give away!

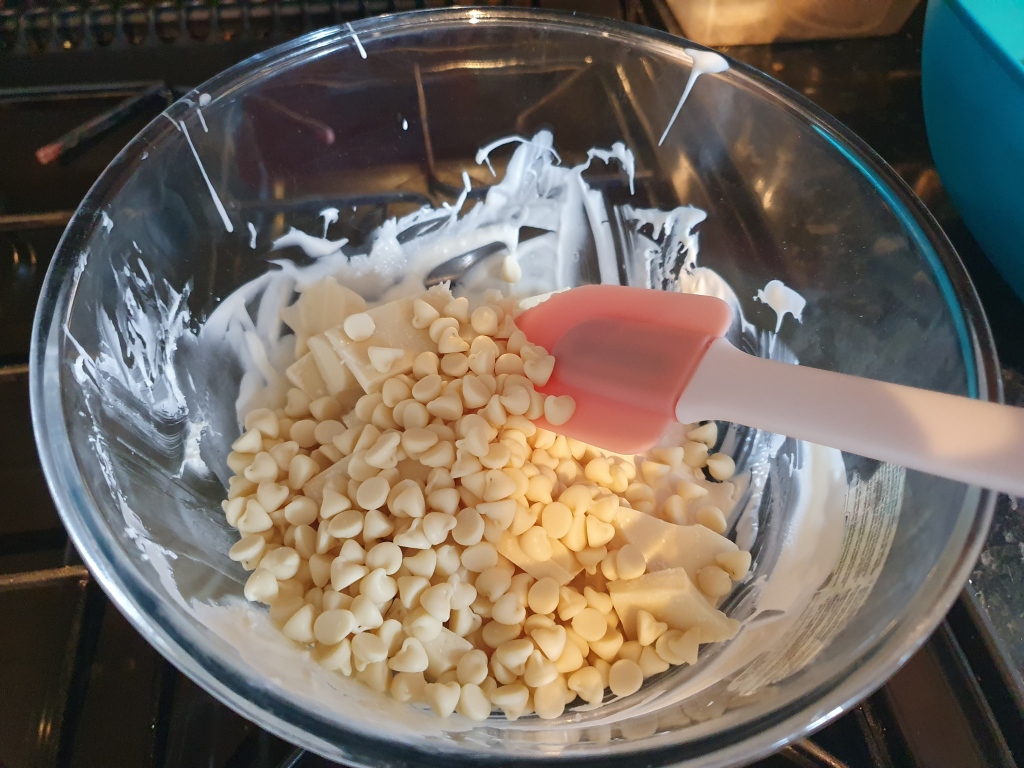
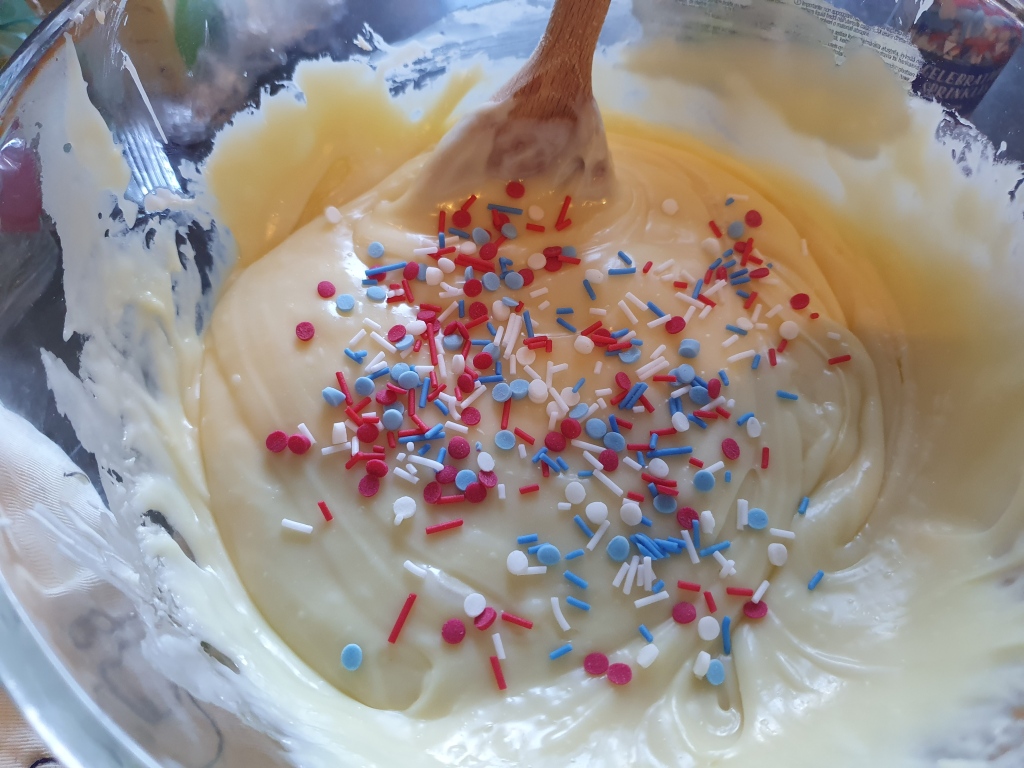
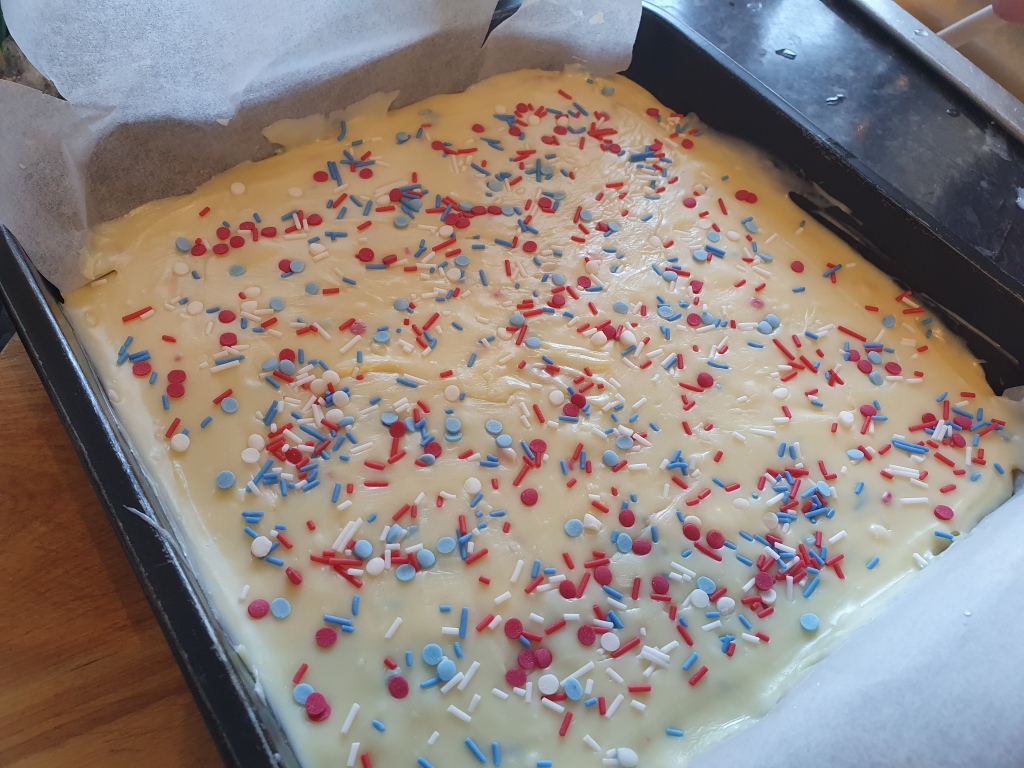
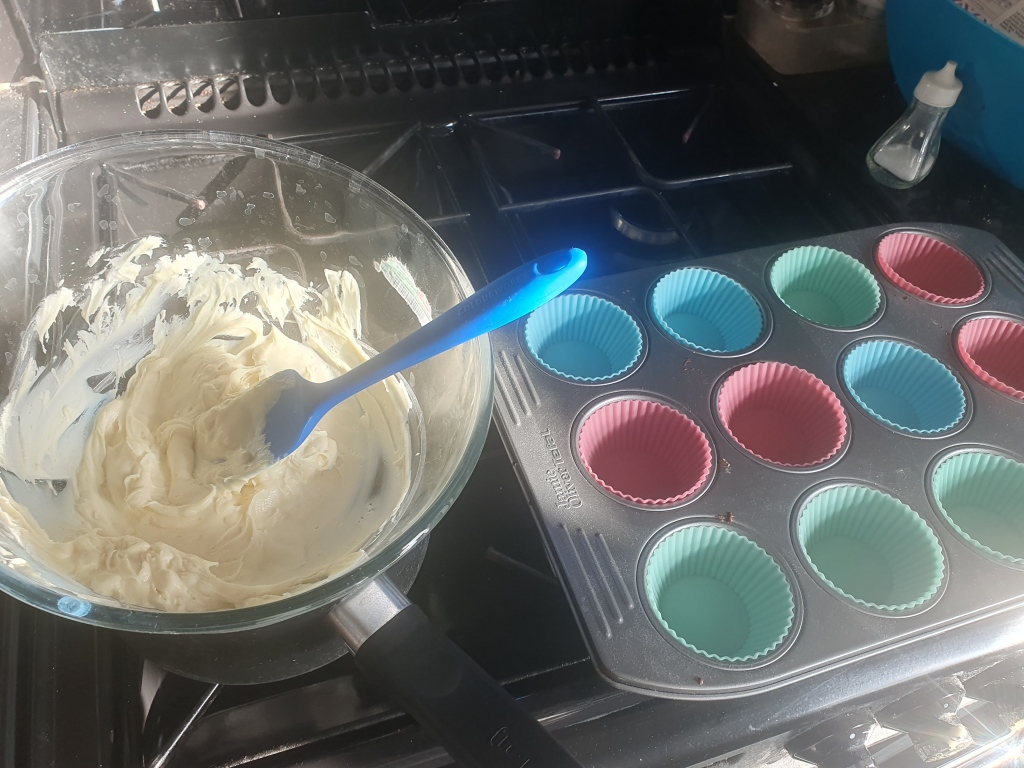
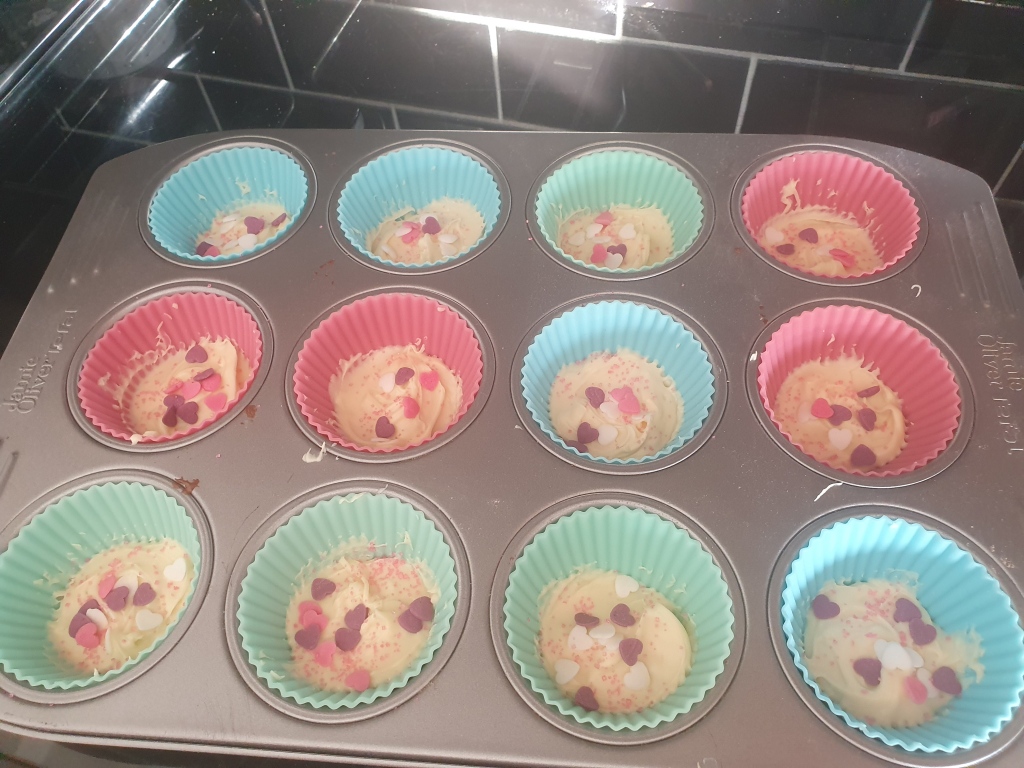
All you have to do is line a tin with baking paper, melt the white chocolate & condensed milk, and add the vanilla extract either using a double boiler method or microwave. Mix it altogether and pour the mixture into your tin, make it smooth and then add your sprinkles on top. Pop it into the fridge to set for at least 2 hours or overnight. Once the fudge is hard, use a sharp knife and cut it into little pieces. I brought some coronation sprinkles from Asda so it has patriotic red, white, and blue colours. Looks really colourful and effective against the white fudge!

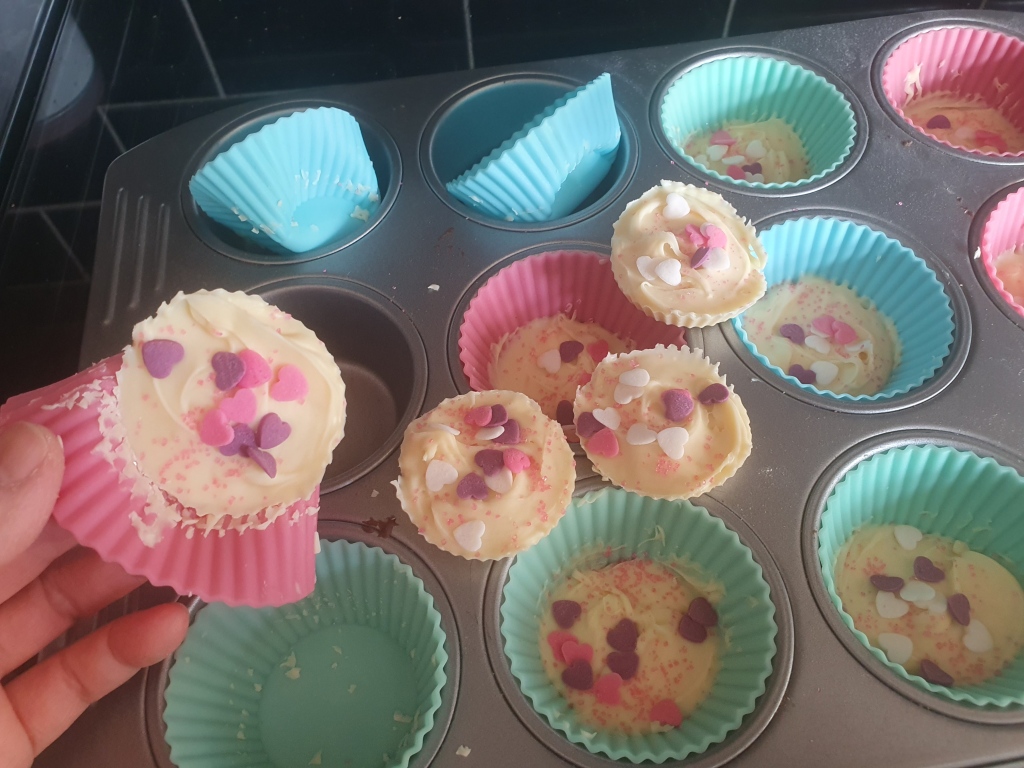
The fudge is delicious, and very sweet so you should cut it into little pieces as it is very morish and calorific!! Lol! I managed to cut 30 pieces using my 8 x 8-inch tin!!! Enjoy the coronation celebrations! 🙂

Giant White Chocolate Rainbow Jazzies

I was looking for inspiration of making some treats for the kids in my Kiddy Cook Class to celebrate the end of term. And, I came across this blog – Eats Amazing which has a huge selection of recipes that you can make with your kids and is very family orientated. I love her blog so I will definitely be trying out some more recipes.

I needed to make something that was quick and in a large batch as I had to make 36 of them! I didn’t fancy being in the kitchen all day! Lol! The giant white chocolate rainbow jazzies is a great recipe, so simple and cheap aswell!

Ingredients: 200g/300g White Chocolate and Sprinkles of your choice

Method:

  1. Melt the white chocolate in the microwave at 30 seconds intervals and stir it until all is melted.
  2. Spoon the melted chocolate into the silicone cups. I used a cupcake tin and inserted the silicone cup so that it holds its shape. In the original recipe, it uses 200g of white chocolate but I think it needed abit more as mine came out really thin so I would melt more chocolate next time.
  3. Once you have filled all your silicone cups (12), tap the tray to get rid of the air bubbles. Then, generously add your sprinkle of choice. I used some heart ones because it was near Valentine’s. You can always theme your sprinkles on the occasion, ie Easter – yellow and green, pale colours, Holloween would be black, orange, green etc. It is totally up to you!
  4. Put them in the fridge for 30 minutes to set and then pop them out of the silicone cases. If you are giving them as a gift, you can wrap them up in cellophane bags with a ribbon. You can store these in the fridge or somewhere cool.

Valentine’s Day Bake!

Happy Valentine’s Day to everyone!! 🙂 In the UK, it is lockdown for us so no restaurants are opened for sitting in, only take aways are allowed! I decided to go with the good old fashion steak for dinner with asparagus, mac and cheese and some torte made by mother in law!

I picked up the Asda Good Magazine – Feb Issue last week and they included dessert recipes for Valentine’s. I was going to make their Red Velvet Brownies. At first, I was going to make this with the boys but reading the whole recipe, you had to melt the white chocolate twice and there was alot of mixing. I just thought they wouldn’t have the patience and I didn’t want them to be near the hot bowls. It would be better for me to do it myself and I will bake with the boys next week because it’s their half term!

The recipe can be found here, I changed the quantities of the caster sugar, so only using 150g caster sugar as the bake would be sweet enough with the white chocolate and I ended up using the whole bottle of the red food gel as it was only tiny!

I was pretty happy with the appearance of the brownie before baking as it looked pretty with the swirls! So, when it came out of the oven, the white chocolate looked brown, don’t know if I over baked it as it didn’t look like the picture from the magazine! Lol! I was hoping that it would taste better than it looks! I actually baked it for longer because after 35 minutes, it still looked abit raw!

The boys loved the brownie, it was crunchy at the top and moist inside! You can only have 1 piece as it is quite rich! 🙂 I think next time, i will make it with even less sugar and try to swirl the white chocolate more into the mixture so it doesn’t just stay at the top! 🙂